

For my 2nd piece this month with Ten Seconds Studio Verday Paint I have made some jewellery. You can find Ten Seconds Studio on their website, their blog and their Facebook Page.

What I used
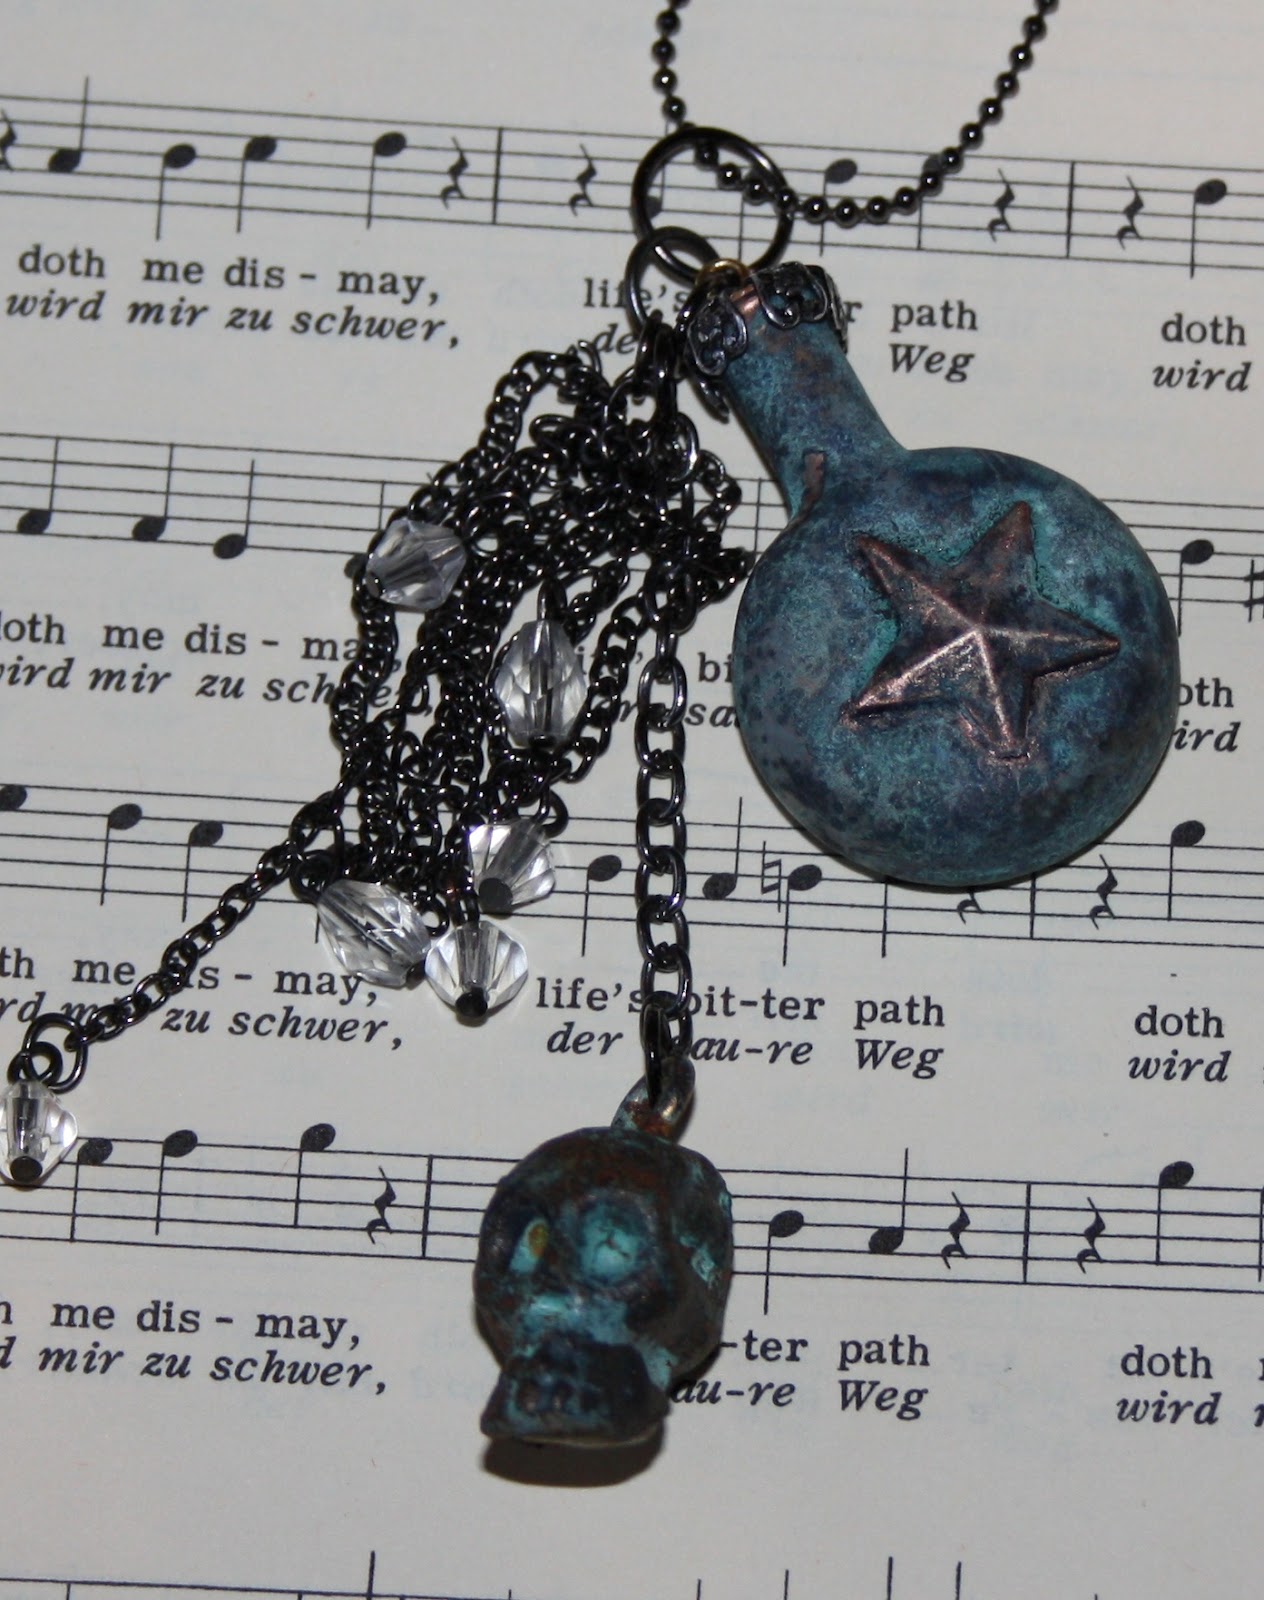
I am very happy with how the bottle turned out as I was not sure how the Verday would work on glass. I found in the end the best way was to coat the bottle with a base coat, I used the Viva Decor base coat in the end. I did experiment with PVA and multi medium but none worked as well.

Remove the cork and find something to fit into the hole so you have something to hold it with. ( I used a pippet as it's quite easy to shove in as far as you want to get a good fit.) give the bottle a coat of the base and let it dry, it only takes a little while. Cut the hanger off the metal star and glue to the bottle. Now apply the Copper Verday paint to the bottle, I found that 2 thin coats of the paint worked best, letting it dry between coats. (stick the end of the pippet into a jar and it sits up and drys) Once the 2nd coat is dry, allow at least a couple of hours for it to really set. Now use a sponge apply your choice of colours, I used the Brass. Now while it is still wet spray it with the Patina solution and leave to dry and for the patina to develop.

While this is working go to work on your skull. screw a small eyelet into the top of it and use this to hold it by. I used the Iron as a base on this as I wanted it to look old and as if it had just been dug up from a graveyard. As this was plastic it need the paint to be dabbed on and not brushed, and again this worked well in 2 thinner coats as you could give it 1 coat and then fill in any gaps with the 2nd. Let this dry well like you did for the bottle,. The using the sponge again and the Iron paint dab it onto the surface. Quickly before it starts to dry, add the bronze paint in some places, but not over the whole skull. Spray with the patina and leave for it to develop.


I added a jewellery finding to the cork to look like a metal bottle lid and then replaced the cork into the bottle add a bit of glue to hold it firmly. I then added jump rings and odd bits of chain to make a finished piece of jewellery.
Carol x
9 comments:
Carol, how brilliant is your jewellery now. I'm off to see what I can find. Enjoy your Day. Hugs Rita xx
Great results Carol...love it!
The Verday is so amazing to work with...
greetings, Alie :-)
Brilliant and what a difference a touch of Verday paint makes I'm loving my set from Happy Daze
...super work Carol, these look great, I loVe the skull, it really does look like a rusty nugget with aging verdigris, really cool stuff...Mel :)
Very cool!!!!
Hi - found your blog via Cheryl/TENseconds Studio. These are great charms!! So cool to know VerDay will work on glass! I really like your blog and your creations :o) so I became a follower...
Wonderful
Thank you . x
Came to say "wow" about your steampunkery jewellery over at Happy Daze, and have found just so much amazing stuff... can't think how I've managed not to be signed up, but about to fix that now!
Alison x
Post a Comment